Robot Vacuum Set Up Instructions
Step 1: Happy Dance
YAY! You bought my favorite robot buddy vacuum! Thank you for your purchase!
Step 2: Unboxing … my favorite part!
When you first open your Robot Vacuum, you will want to locate the adapter and charging station. Make sure you plug that into the wall in an open area, with the charger against the wall. Ideally, you will want to have about 3 feet on each side of the station and 4-6 feet in front of the station. This will allow your robot vacuum to easily find and recharge itself on the station.
For the remote, you will need to insert the included AAA batteries, so it is ready for operation. Set the date and time on the remote by holding down the Time Button until the numbers blink. Press the up and down arrows to correctly set the time, then arrow over. Don’t forget to set the day, and then press and hold the Time Button again.
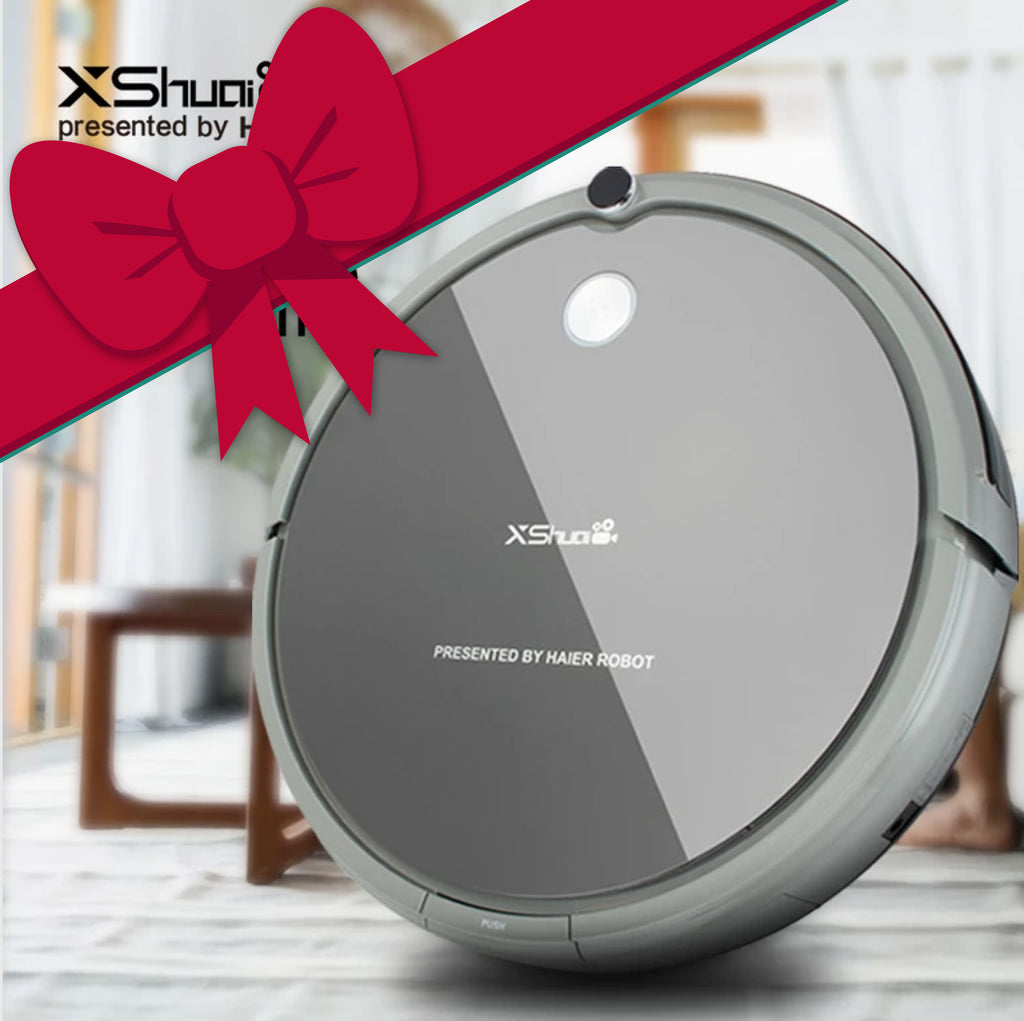
Next, pull out the robot vacuum itself. You will need to remove the rubber strips from each side of the vacuum. The vacuum arrives with the dustbin attached, but also comes with the optional mop and water tank feature. These pieces are easily switched out. Attach the side brushes, make sure to match the colors to the correct sides (red goes with red, and green goes with green).
Step 3: Charge her up!
Now that you have the charging station plugged in, the remote set up, and the vacuum ready to roll, its time to get her all charged up for cleaning. Turn the robot over, and switch the power button on the bottom to ON. You should hear a doorbell sound, if you do not hear this sound press the power button on top. Once you hear that sound, the robot is in standby mode. You want to place the robot on the ground, and send it home to charge. To do so, press and hold the Home Button. The robot will sense the charging station and find its way there to charge. Let your robot charge for 6 hours before your first use.
Step 4: Quick Start
The easiest way to get your robot vacuum rolling is to press the “Play” button and then the Zig Zag function (bottom middle function button). Then your robot will begin vacuuming!
Scheduled Cleaning:
In order to schedule daily cleaning, you will first need to set the day and time on the remote. To do this, press and hold the “Clock” button, then use the arrows to adjust up and down, and side to side for the next option. Press the “Clock” button again to set. To schedule daily cleaning, make sure the robot vacuum is charged first. Then press and hold the “Schedule” button (looks like an alarm clock). Again, use the arrows to adjust the time, and then press the power button when done to set the timer. The remote will remain on the timer screen for a few moments before going back to the home screen showing the current time. Then sit back and wait!
To purchase a Robot Vacuum, click here!


Leave a comment